
Now certainly there are some paid solutions for this, but many of them involve turning the Google Doc into a PDF, which may not be what you want, and of course they cost money.
To help with this I have brainstormed four ways that you can sign a Google Doc that are free and put the signature right into the document. These include:
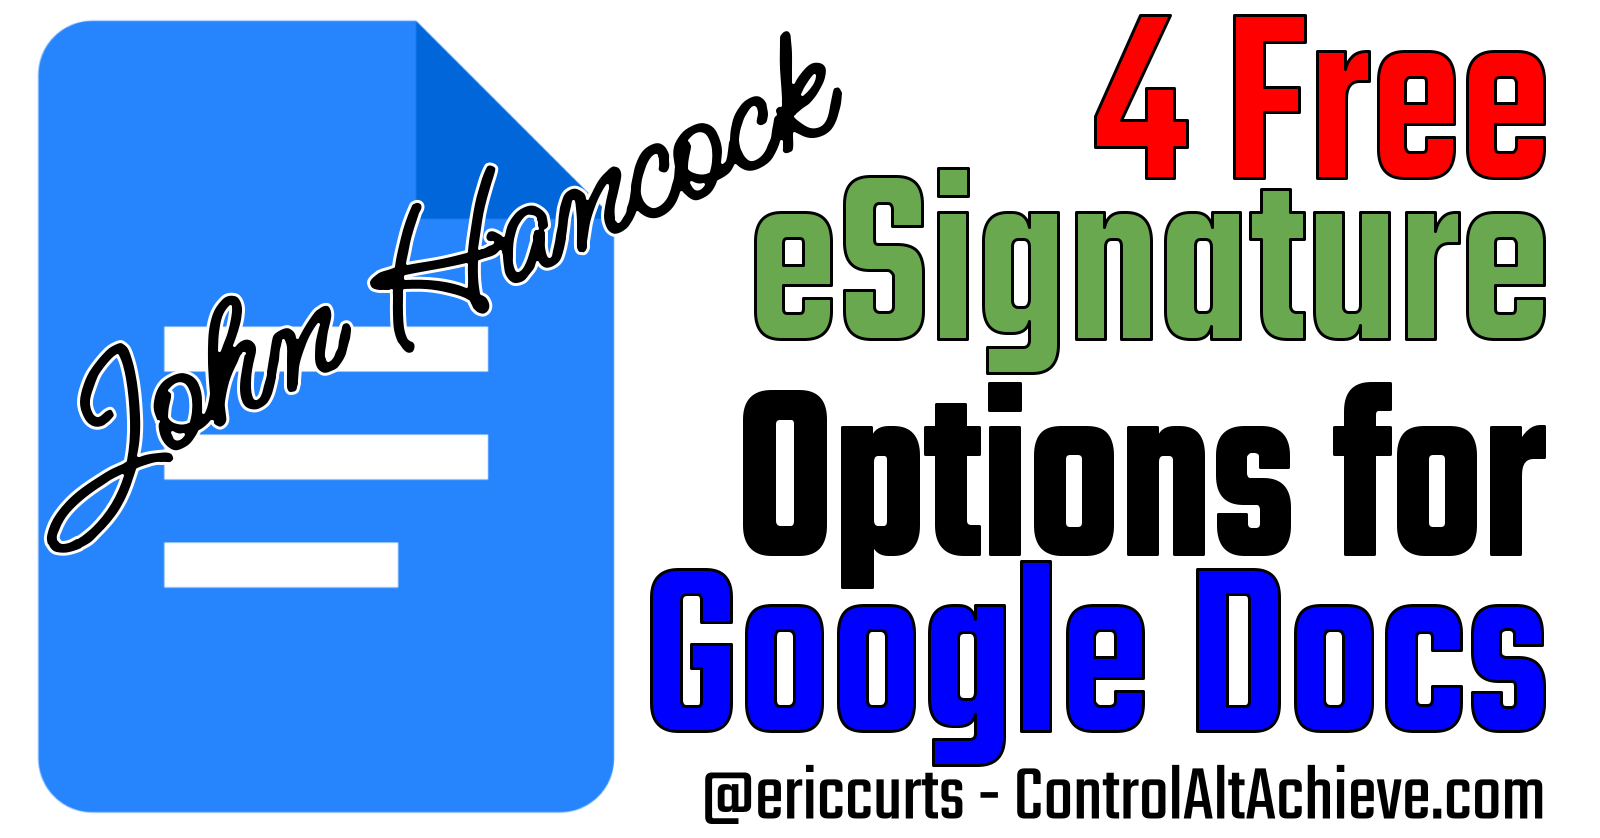
✍️ Using handwriting fonts📷 Inserting a signature image✒️ Signing an embedded Google Drawing⚙️ Using the "Simple Signature" add-on
See below for a tutorial video where I demonstrate each of these options, as well as detailed written directions.
▶️ Tutorial Video (15 minutes)
✍️ Using handwriting fonts
This first option is by far the easiest, but also the most limited. In this option the idea is that you can add your signature to a Google Doc by choosing a handwriting font and then typing your name using that font. Here's how it works…
- First you want to make sure you have a handwriting font to use.
- If you don't have one that you like, click on the font menu in the Docs toolbar and choose "More fonts" from the drop-down menu.

- This will open the "Fonts" window where you can access well over a thousand available web fonts to use in your document.
- To find just handwriting fonts, click the "Show: All fonts" button and choose "Handwriting" from the drop-down menu.
- You can now scroll through all the handwriting fonts until you find one you like.
- Simply click on the font (or fonts) that you want to use and then click "OK".

- Now anytime you want, you can use that handwriting font in your documents.
- So to sign your document, click in the place where you want to add your signature.
- Then choose the handwriting font from the font menu.
- And then simply type in your signature.
- If needed you can adjust the font size, make the text bold, or even change the color to get the look you like.

For this option:
- 👍 The positives are that it is super easy to do.
- 👎 The negatives are that it isn't really your handwriting.
📷 Inserting a signature image
Another option for adding your signature to a Google Doc is to create an image of your actual handwritten signature, and then insert that image into the Doc.
- If you want to sign a physical piece of paper, then you could scan the image and clean it up as needed in a graphics program.
- Or if you have a touch screen laptop, you could write your signature in a tool like Google Drawings and then save that as an image.
Let's take a quick look at both options.
If you want to sign your name digitally:
- Start by creating a new Google Drawing (or use any online graphic program that you like).
- For Google Drawings, next click "Insert" then "Line" then "Scribble".

- You can now use the scribble tool to sign your name.
- If needed you can adjust the line thickness as well.
- When done signing, you can resize the canvas so it fits your signature without any extra unneeded space.

- Finally just give the Drawing a name and then download your image by clicking "File" then "Download" and then "PNG image".
- It is necessary to choose PNG for the image type so that the background stays transparent.
On the other hand, if you want to scan your signature:
- First you need to begin by signing your real signature on a clean white piece of paper.
- Next you will want to scan your signature using a scanner or a photocopier, or you could even take a picture of it with your phone, as long as you have good lighting so there aren't shadows.

If needed, you can open it in whatever graphics program you prefer, to do some editing and clean up. For example you could:
- Change the image to just black and white
- Delete any strays marks
- Make the background transparent
- Trim the image so there isn't any extra space
- And finally save your signature image
No matter which option you use to make your signature image, you will now just want to make sure you have it saved somewhere you can get back to easily. Some options could include:
- The hard drive for your computer
- Your Google Drive
- Your Google Photos
- Or even Google Keep
You can now insert your signature image into a Google Doc anytime you need.
- Click "Insert" then "Image".
- Then choose the option for where you have the signature image saved, such as "Upload from computer" or "Drive" or "Photos".

Your signature image will now be inserted into your document.
- If needed, you can change the text wrapping for the image to be "In front of text" which will make the signature free-floating so you can move it wherever you need.
- You can also resize the signature as needed to fit.

If you chose to save your signature image in Google Keep, you can insert it as follows:
- Click on the Google Keep icon on the right side of your Google Docs screen.
- This will open the Google Keep panel.
- Find your saved signature image, and then drag and drop it into your document.

For this option:
- 👍 The positives are that it is your actual signature, and there are lots of places to save it and lots of ways to insert it.
- 👎 The negatives are that you do have to take the time to create your signature, and you might need a graphics editing program to clean it up.
✒️ Signing an embedded Google Drawing
The third option for adding your signature to a Google Doc is to embed a Google Drawing into your document where you need the signature, and then using the Google Drawings tools to sign your name.
You can use this option yourself, but you can also use it for a document that you want other people to sign. For example you might have a common form that people need to get a copy of and then fill out and sign.
Here's how it works:
- Click in the spot in your document where you want the signature to go.
- Next click "Insert" then "Drawing" then "New".

- This will open the pop-up Google Drawings window.
- Click on the down arrow next to the "Line" tool and choose the "Scribble" option.
- You can now use the scribble tool to sign your name.
- If needed you can adjust the line thickness as well.
- When done, click "Save and Close" to exit the Google Drawings window.

- The signature will be inserted into your document as an image.
- If needed, you can change the text wrapping for the image to be "In front of text" which will make the signature free-floating so you can move it wherever you need.
- You can also resize the signature as needed to fit.
- If you need to make changes to the signature, just double-click on the image and the Google Drawings window will reopen where you can make edits as needed.

If you want other people to use this method to sign your document, I recommend pre-embedding the Google Drawing so they do not have to do that. Now you can't pre-embed a totally blank Google Drawing, so you could add a white rectangle to it as a place for them to sign. Here's how:
- Like before, click in the spot in your document where you want the signature to go.
- Then click "Insert" then "Drawing" then "New".
- Now you can set up a spot for them to sign by adding a white rectangle.
- Click the "Shape" menu, then "Shapes", then choose the rectangle shape.
- You can now click and drag out the rectangle.
- Use the paint can button to change the fill color to white.
- You may want to leave the border black though so they can easily see where to sign.
- Now click "Save and Close" to insert the placeholder Drawing into the document.

- Anyone can now sign the document by double-clicking on the placeholder Drawing, and then using the "Scribble" tool as normal to sign their name.
- You may want to include a comment or note somewhere with directions if you think the users may not know how to do this.
For this option:
- 👍 The positives are that it is your actual signature, and it doesn't require any extra tools. Everything is just part of Google Docs. So this can be especially helpful if you need other people to sign the Doc.
- 👎 The negatives are that the person signing does need to know to double-click on the embedded Drawing and how to access the "Scribble" tool, so you most likely will need to include some directions for the signer.
⚙️ Using the "Simple Signature" add-on
The final option for adding your signature to a Google Doc is to use a free add-on for Google Docs called "Simple Signature". This awesome tool actually lets you do all three of the earlier options including using a handwriting font, or uploading your signature image, or writing your signature right in the add-on.

Here's how it works:
- First you will need to install the add-on if you haven't done so yet.
- You can install it directly from the "Google Workspace Marketplace" here: Simple Signature add-on
- Or you can click the "Extensions" menu in the Docs toolbar, then choose "Add-ons", and then "Get add-ons".
- This will open the "Google Workspace Marketplace".
- Here you can search for the "Simple Signature" add-on.
- When you click the add-on, then click the "Install" button.
- You will now need to select your Google account and give the add-on permission to install.
- The add-on will now be installed and ready for you to use anytime you need it.

To use the add-on:
- Click "Extensions" then "Simple Signature for Google Docs" then "Insert signature".
- This will open the "Simple Signature" panel on the right side of your document.
- The add-on allows you to "Type" your signature, or "Upload" your signature, or "Draw" your signature.
To type your signature:
- Choose the "Type" tab.
- Type in your name at the top.
- Choose the font you want to use.
- Adjust the color if desired.
- And then click "Insert Signature".
- You can then drag the signature image wherever you want, and resize it as needed.
- Note: If you have extra space around the signature image that you want to get rid of, just double-click on the image to activate the cropping bars, and then drag those to crop the image as needed.

To upload your signature:
- Choose the "Upload" tab.
- Click on the upload box and browse to select your signature image.
- Finally click "Insert Signature".
- As usual, you can then drag the signature image wherever you want, and resize it as needed.

To draw your signature:
- Choose the "Draw" tab.
- Select the color you want to write with.
- Next, adjust the line width. I find that a thinner line works best with this add-on.
- Then go ahead and sign your name in the box.
- Finally click "Insert Signature".
- As usual, you can then drag the signature image wherever you want, and resize it as needed.
- And again, if you have extra space around the signature image that you want to get rid of, just double-click on the image to activate the cropping bars, and then drag those to crop the image as needed.

For this option:
- 👍 The positives are that you can use any of the three options including a handwriting font, or uploading your signature image, or writing your signature right in the add-on. It is also really easy to use.
- 👎 The negatives are that whoever is signing the document does have to install the "Simple Signature" add-on, and sometimes schools block certain add-ons, and sometimes these third-party add-ons stop working or being supported.
🏁 Conclusion
And that's it! Hopefully one of those four methods will work for you when you need to add your signature to a Google Doc. If you have suggestions for other solutions, please share your ideas. I would love to learn from you!
Post by Eric Curts
📮 Join the "Control Alt achieve" email discussion group
📰 Sign up for my email newsletter
🐦 Connect with me on Twitter
▶️ Subscribe to my YouTube channel
📧 Reach out through email - ericcurts@gmail.com
📗 Check out my "Control Alt Achieve" book
🏫 Bring me to your school, organization, or conference with over 60 PD sessions to choose from
No comments:
Post a Comment