
.png)
Although I use a Bluetooth mouse any chance I get, there are times when I am mouse-less. I might be on the go, or on a plane, or just somewhere that doesn't have enough room for that helpful input device.
Thankfully Chromebooks have a wonderful built-in touchpad!
Chromebook touchpads are designed to replicate what a mouse can do, but they also go further with touch gestures that provide extra features for navigation and management.
Although my first choice may always be for a mouse, I am happy to say that the Chromebook touchpad is a more than capable replacement to keep me productive and efficient no matter where I am. This can be especially helpful for our students who may often be using Chromebooks without a mouse.
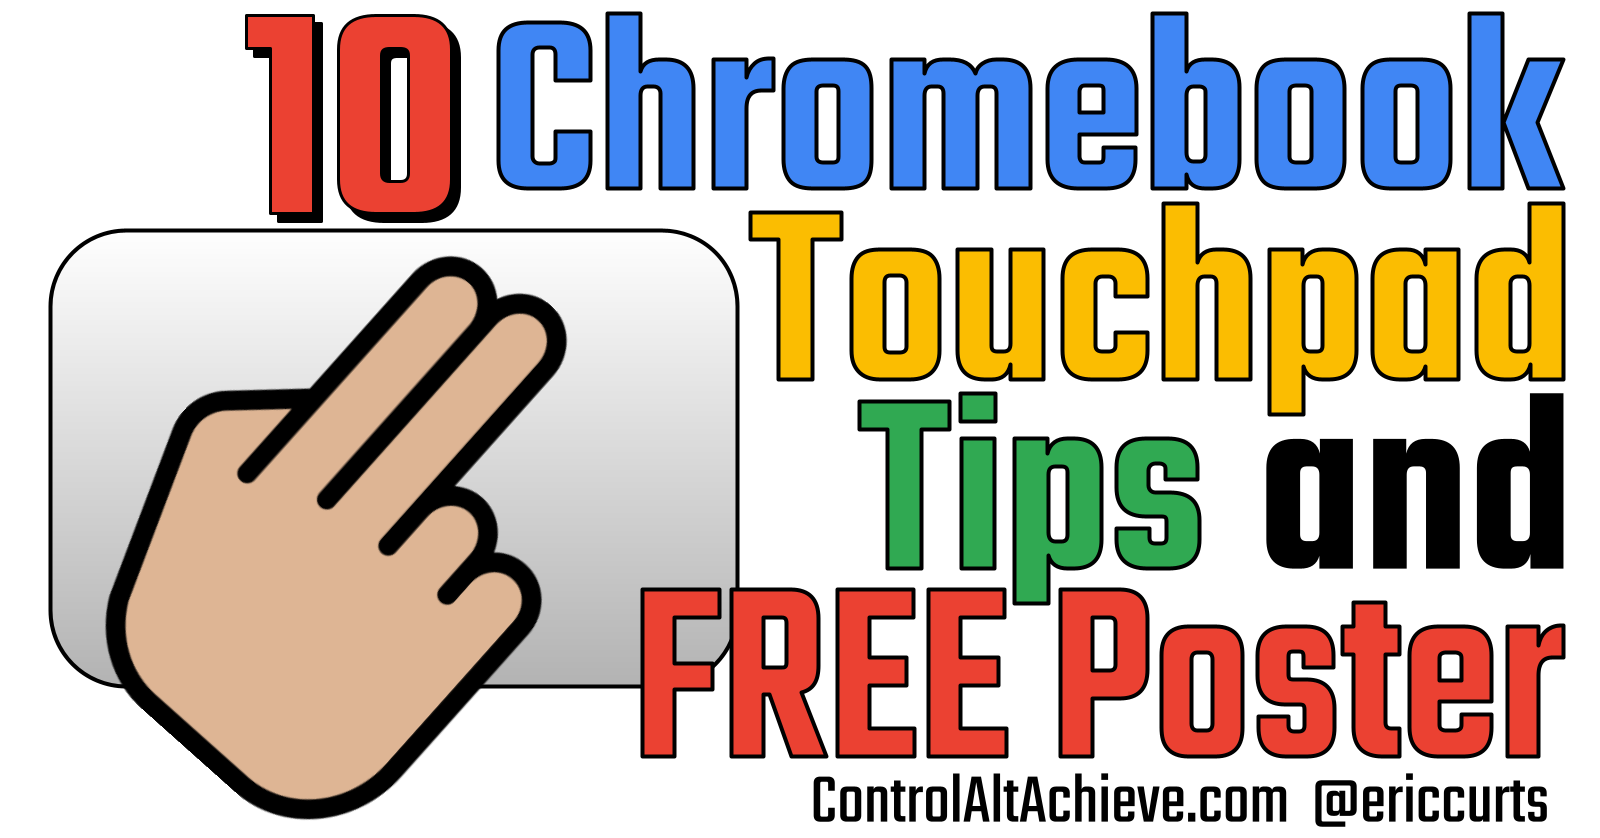
To help spread this helpful information I have created a full-color illustrated poster with 10 Chromebook touchpad tips. You can get the poster for free in multiple formats using the links below. I have also included details and animations for each of the touchpad gestures in this blog post.
📄 Get the Poster
Use the links below to get your own copies of the poster. The poster is available in several formats, depending on how you need to use it, whether digitally or printed.
- PDF Format - PDF link
- Image Format (PNG) - PNG link
- Google Slides Format - Google Slides link
As with all of my content, this poster is licensed under a Creative Commons Attribution-NonCommercial 4.0 International license. In short, you can copy, distribute, and adapt my resources as long as you give proper attribution and do not charge for them.
🖐 Chromebook Touchpad Features
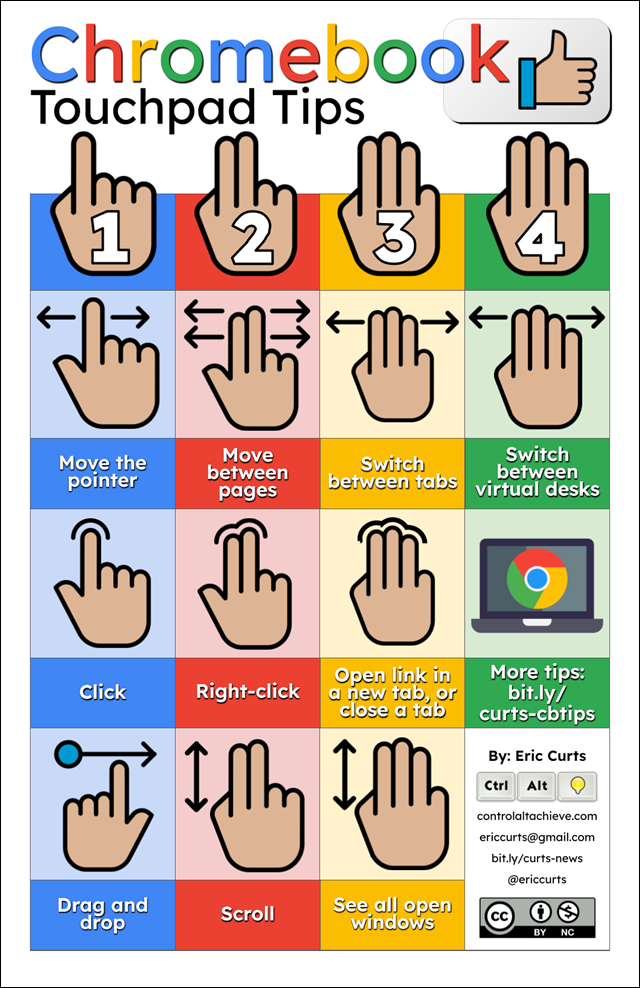
See below for animations and explanations of 10 common Chromebook touchpad gestures.
1️⃣ One-Finger Gestures
Move the pointer - Move one finger across the touchpad.

Drag and drop - Using one finger, click and hold the item you want to move. Drag the item to its new spot, then release your finger.


2️⃣ Two-Finger Gestures
Right-click - Press or tap the touchpad with two fingers. You can also press Alt, then click with one finger.

Scroll - Place two fingers on the touchpad and move them up and down to scroll vertically, or left and right to scroll horizontally.

Move between pages - To go back to a page you were just on, swipe left with two fingers. To go forward to a page you were just on, swipe right with two fingers.

See all open windows - To see all open windows, swipe up with three fingers. To close it, swipe down with three fingers.

Or ... Close a tab - Point to the tab, then tap or click the touchpad with three fingers.

Switch between tabs - If you have multiple browser tabs open, swipe left or right with three fingers.

Switch between virtual desks - If you have multiple desks open, swipe left or right with four fingers.

🏁 Conclusion
Hopefully you find the poster and details above helpful! For more tips on tricks on making the most out of Chromebooks for you and your students, check out my resource document for "Chromebooks Can Do That?!" which you can access here: https://bit.ly/curts-cbtips
Post by Eric Curts
📮 Join the "Control Alt achieve" email discussion group
📰 Sign up for my email newsletter
🐦 Connect with me on Twitter
▶️ Subscribe to my YouTube channel
📧 Reach out through email - ericcurts@gmail.com
📗 Check out my "Control Alt Achieve" book
🏫 Bring me to your school, organization, or conference with over 60 PD sessions to choose from
No comments:
Post a Comment